
If some of you are wondering why you haven’t seen pictures of Lamp in an outfit you bought her it’s because it doesn’t fit. But I got a super small, teeny tiny little outfit. Yep, doesn’t fit. She’s 4 months old and still in newborn onesies. On top of that her limb lengths make it all the harder to dress her. Right now she has one pair of pants that fit her–they’re preemie size and capri length at that. So now that it’s finally getting cold here I decided she needed a warmer pair of pants. That and I don’t think 2 pairs of pants is too much to ask for the little Lampstress. So here’s a little pant tutorial in case you want to do this yourself. This is basically an adaption of the bloomer tutorial I used a while ago.
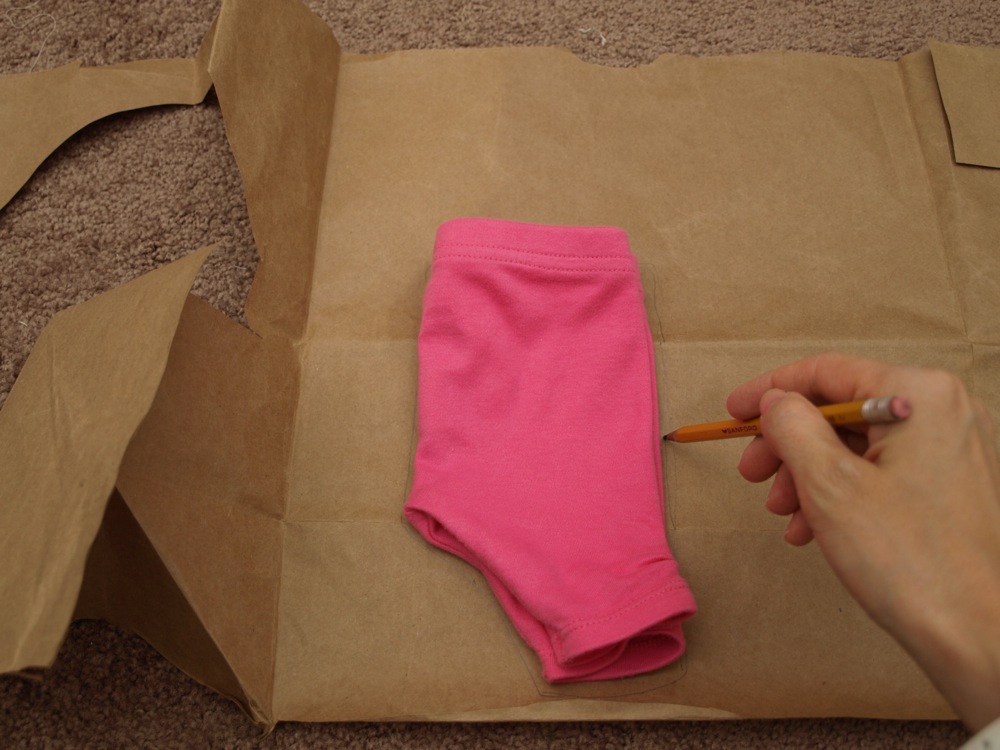
Items needed: The pink pants that now fit her to use as a pattern, a brown paper bag to make the pattern and the white sweater I’m going to turn into her warm fuzzy winter pants.

First, fold the pants in half making sure to lay it as flat as possible and make sure you get that little bum area pulled out. Then trace.
(As you can see the legs kinda go forward a little bit–that’s because there’s ruching on the front of the pants, so I just adjusted it and made that line go straight down instead.)
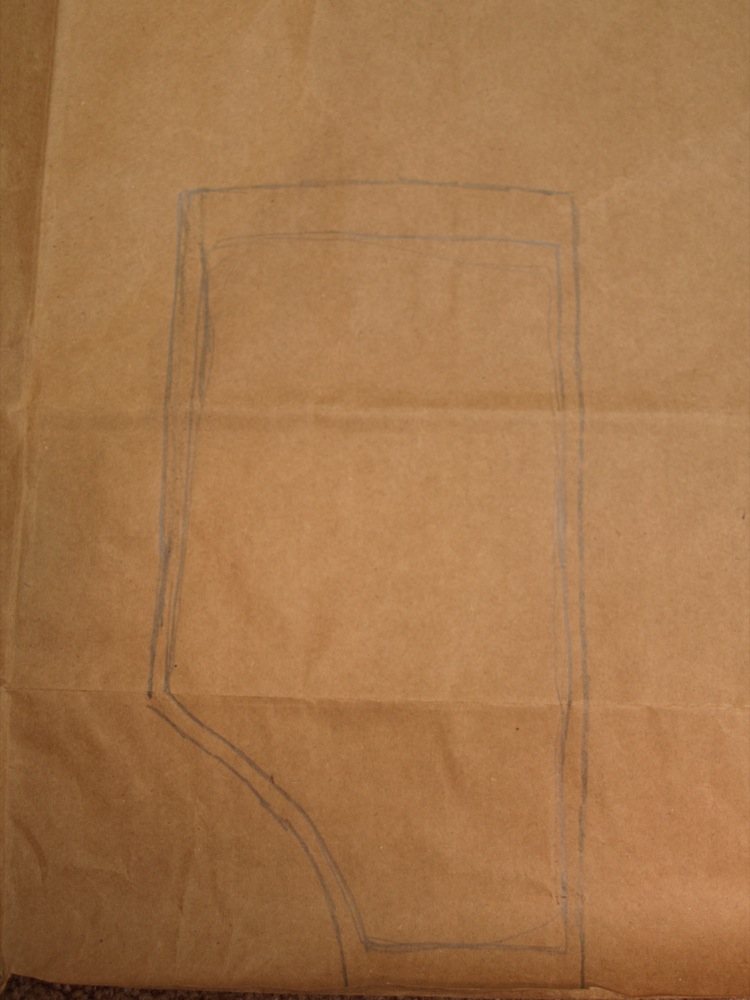
Next, trace around your original outline this time giving yourself an inch or two on the top for the waistband and on the bottom for a hem. (I didn’t actually need a hem and I’ll explain why, so my pants are a little longer than needed). Also make sure you’ve got extra on the sides for seam allowance. I just eyeballed it, so really it’s not that hard. Pinky promise. Then cut out your pattern.
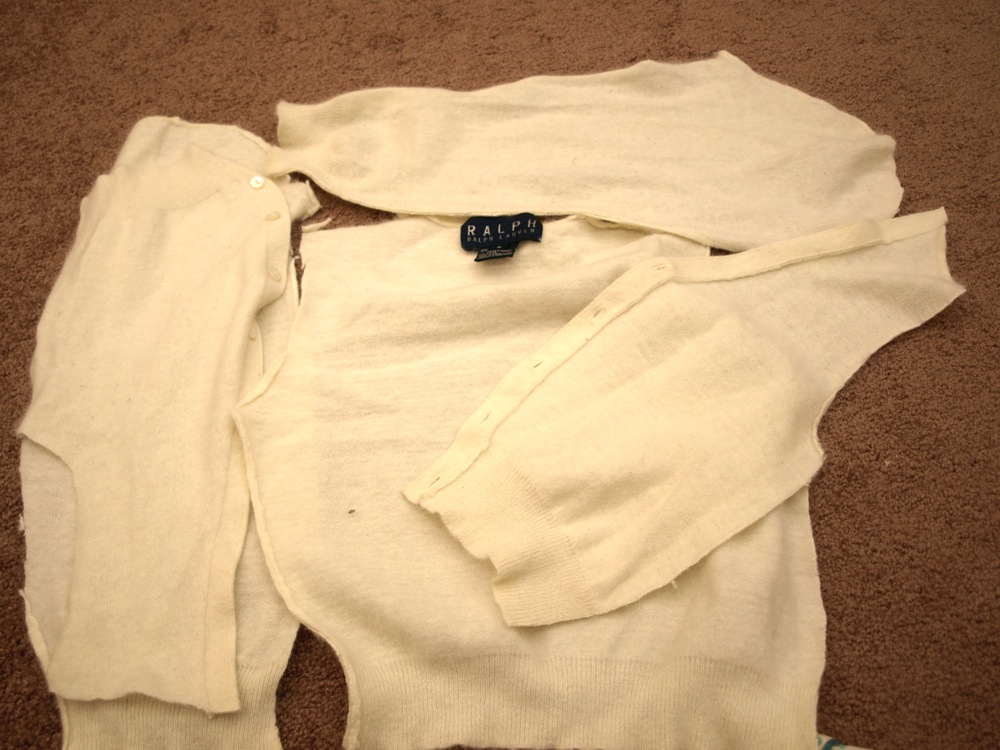
Next I cut up my sweater along the seams so I have the most fabric possible. (note: This is a sweater I got at a church clothing exchange…I knew I’d never wear it but that it would make a great fabric to make a stuffed animal or something. It’s super soft angora and lambswool or some sort of heavenly blend. I also have a cashmere sweater put away for the same type of idea…so just a tip for you second hand shoppers–be on the lookout for homely but luxurious sweaters.)
So I decided to use the ribbing along the cuff to be the bottom of the pants…which is why I didn’t end up needing to do a hem. It worked out great. You need 4 total pieces–so I cut out 2 at a time so they would match up well.
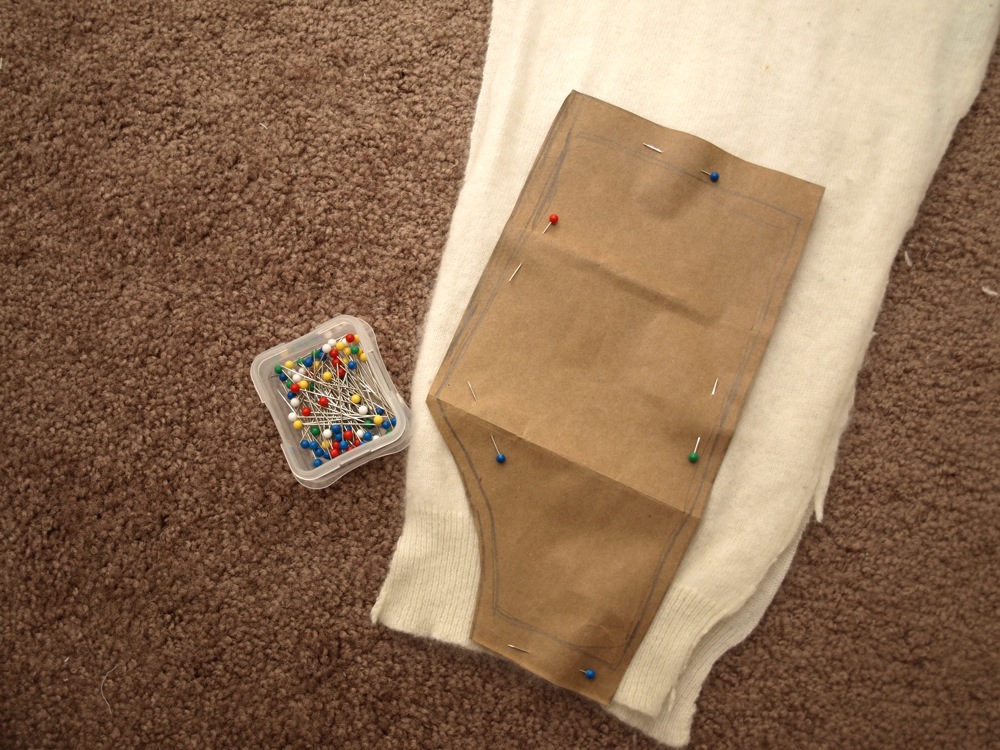
Next pin 2 pieces together (right sides together) and do that twice. You’re going to want to sew along the shorter of the 2 long sides–don’t sew the little curvy part.
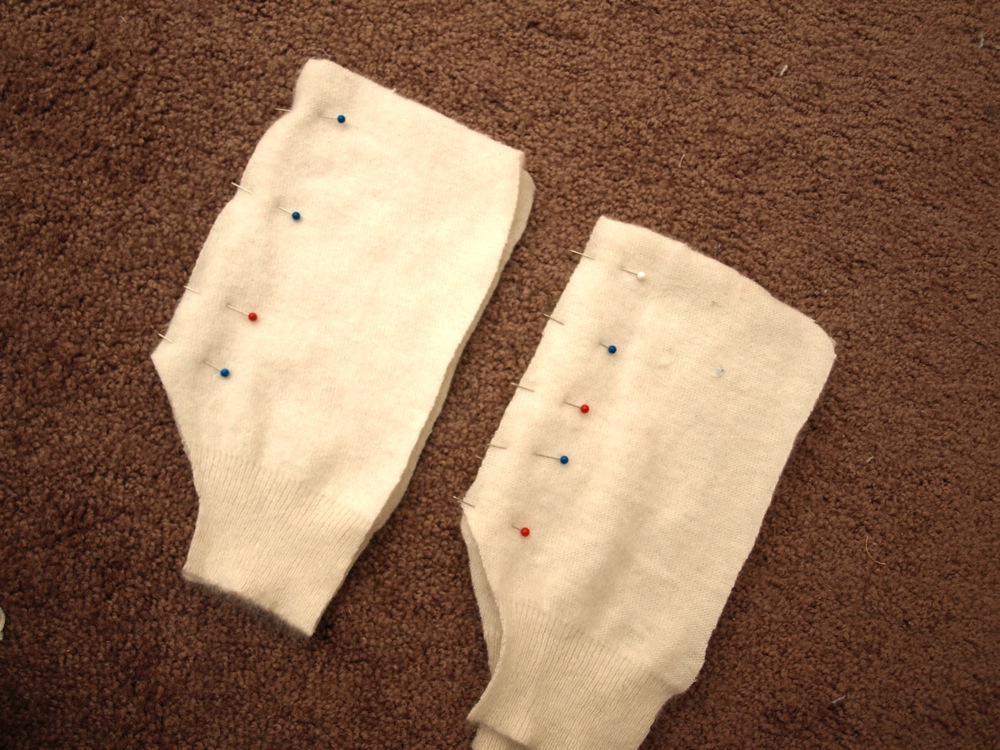
Now you should have 2 pieces that look like this when opened up. Starting to look like pants right?
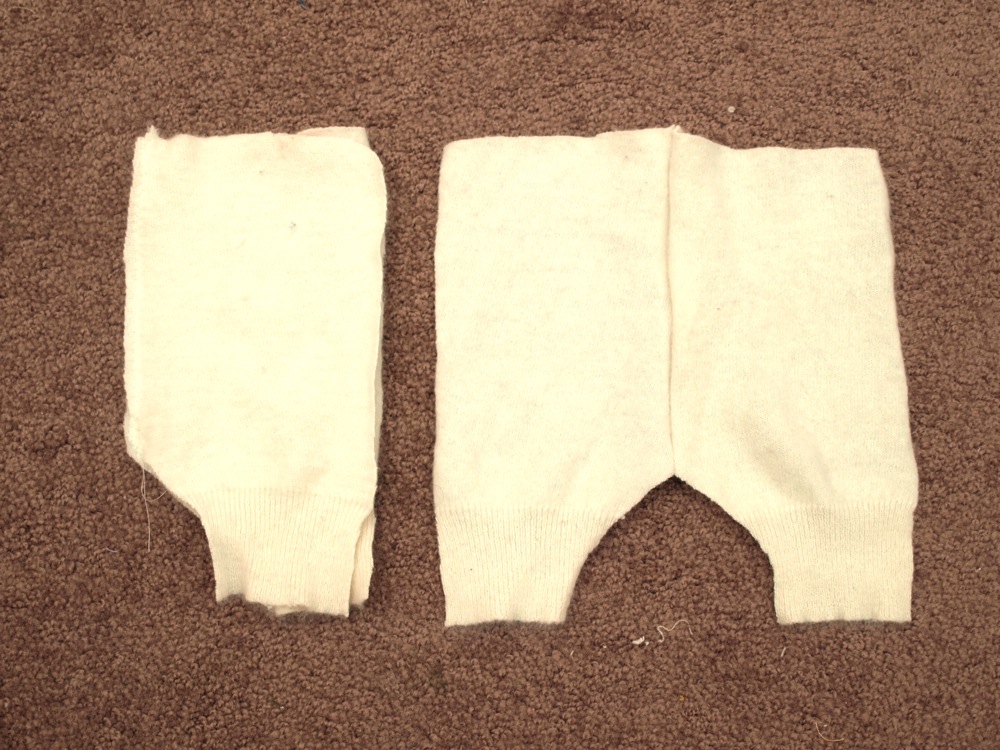
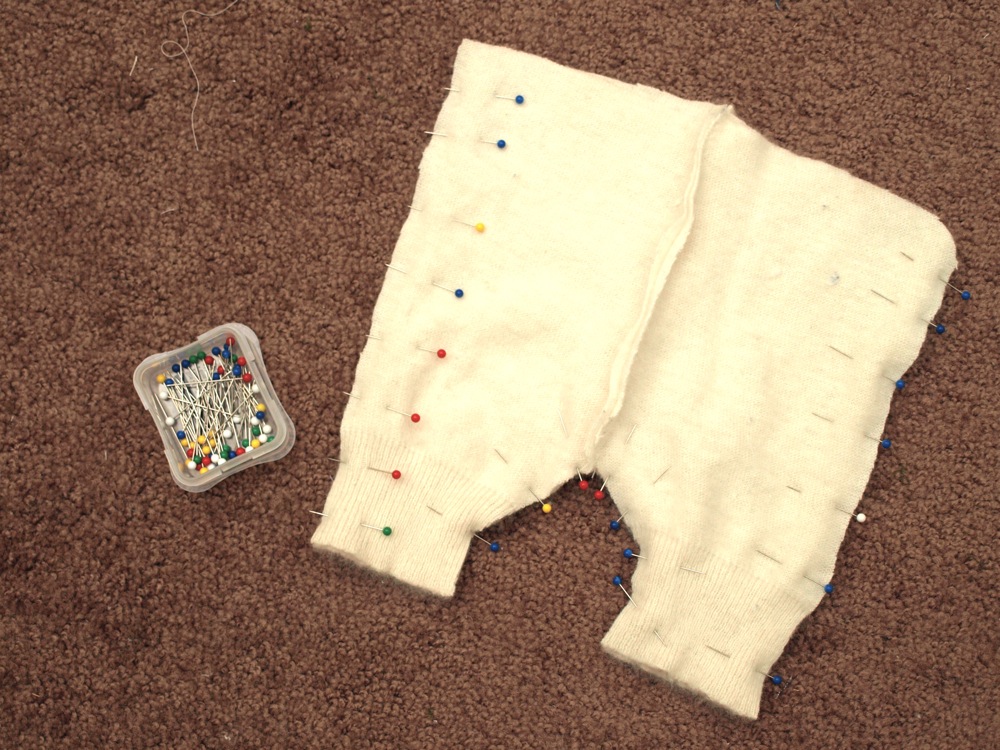
Now unfold those 2 pieces of fabric and lay them on top of each other (right sides together) and pin along the sides and around the crotch. You’re going to sew all those edges you just pinned. I forgot to do a finished picture of that part.
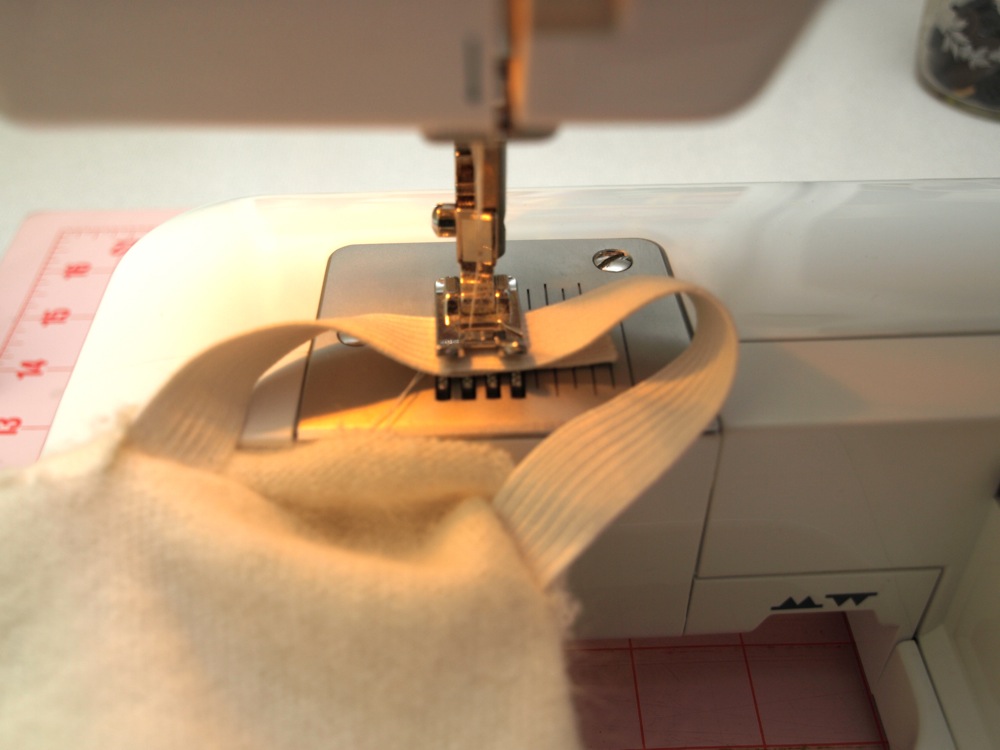
Next you’re just going to fold down the top (make sure it’s wide enough for the thickness of elastic you’re using) pin it down and sew around the top. Make sure not to sew all the way around because you need to leave a little opening to string you’re elastic through.

Now you can see how I sewed almost all the way around, but left a little opening. I just used the pink pants as a guide to figure out the length of my elastic. Give yourself an extra inch or two for when you need to sew the ends of the elastic together. Hopefully that all makes sense.

Now take your elastic and using a safety pin thread it through the opening and work it all the way around the top of the pants making sure not to get the elastic twisted along the way.

Then sew the two ends of the elastic together with some zig zag stitches going back and forth a few times to make sure they’re really fastened together. It doesn’t have to look pretty. Once those are sewn together go back and sew the opening shut.
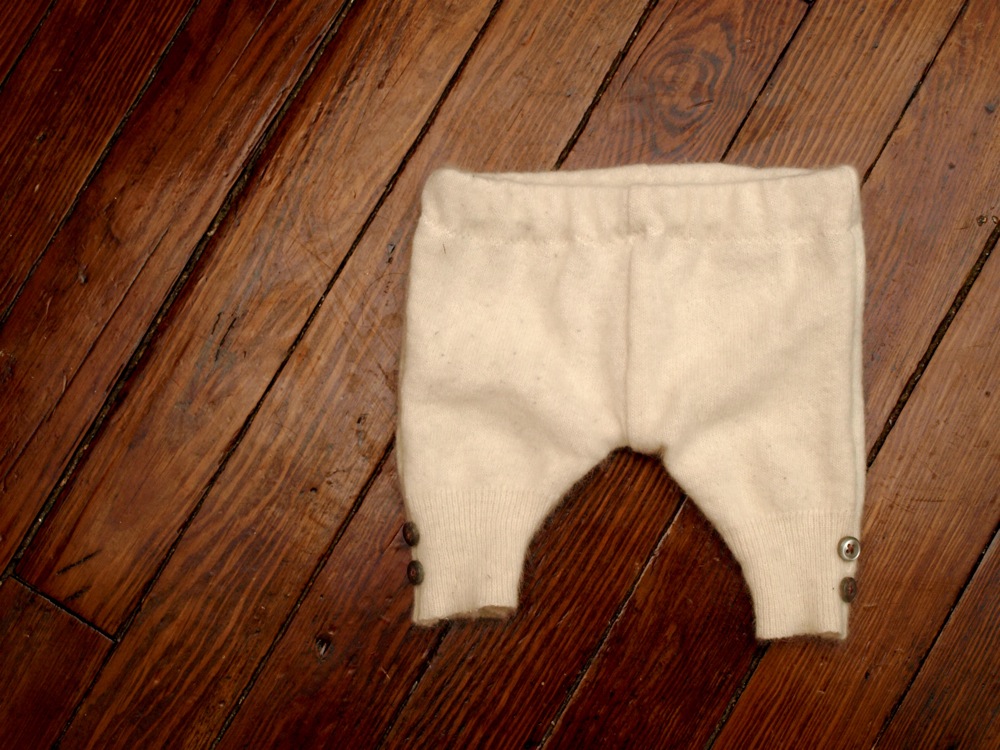
I sewed some little buttons on the bottom for a little extra decoration.

Warm, fuzzy winter baby pants in no time. Seriously using an old sweater made it SO much easier–no ironing and no zig zag-ing or finishing the edges. These were super quick–made in less than an hour. They’re not perfect, but they’re really warm and super soft.
I think I even have extra sweater fabric for a matching hat….I’ll be sure to post a pic if that happens.

Great job! These look so warm for Little Lamp! She will feel so comfy and loved! You did such a great job! (You did learn to sew!!!!) Love the detaining!
Love,
G.G.
I stumbled on your blog a long time ago…and I find it very inspiring…and feel that clearly you were blessed with little Lamp because you are the best mommy for her…those little pants…that sewing you can do…perfect…you were made for each other!!
If you hadn't mentioned it took an hour, I would have guessed the whole day. Seriously. You are very talented.
So talented, so DARN cute. So cuddly. I think I need to take a side trip to Ohio next time I come to St.Louis to see my sister.
Those pants are adorable.
Oh, those are cute! Good job!
Thanks you guys. They were fun to make…I'll have to post some pics of the little Misses wearing them. That cute stinker pie.
And Molly–YES. Come to Ohio! It will be fun I promise.
Adorable and amazing. Someday I will learn how to sew baby clothes using old adult clothes. Someday.
Keeping warm to adorable pajama… I like the idea of making sweaters to this!