

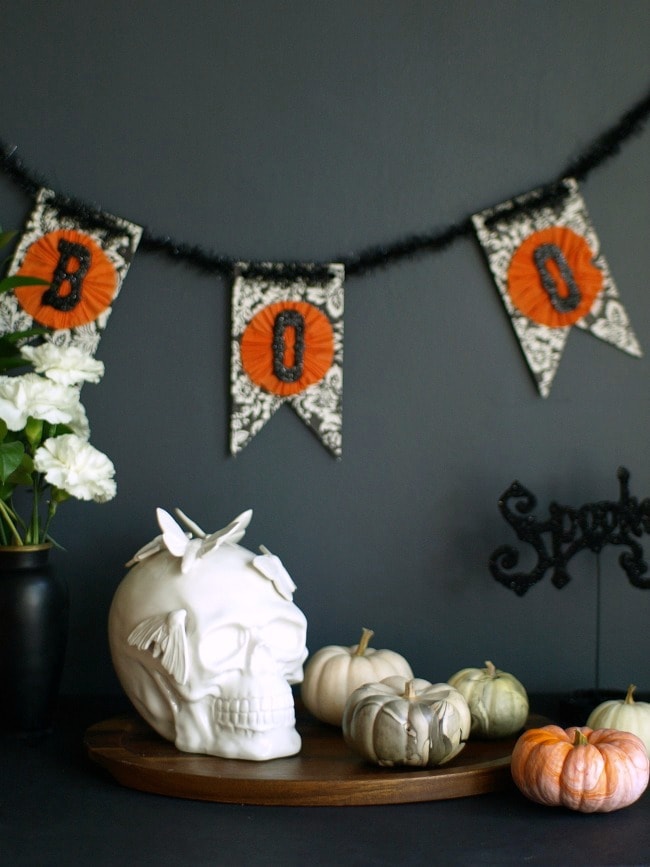
Looking for an easy Halloween craft that won’t cost you a lot in either time or money? I think these beautiful and simple marbleized mini pumpkins fit the bill perfectly. And as long as you’ve got some nail polish remover handy, they’re pretty kid friendly too. If you’ve never marbleized with nail polish before, you’ll be surprised at how easy it is.

supplies
nail polish (I used black and white)
mini pumpkins
water container (I used a grocery bag to line it so the paint doesn’t stick)
tooth picks or even a piece of dried spaghetti
scrap paper or newspaper for drying
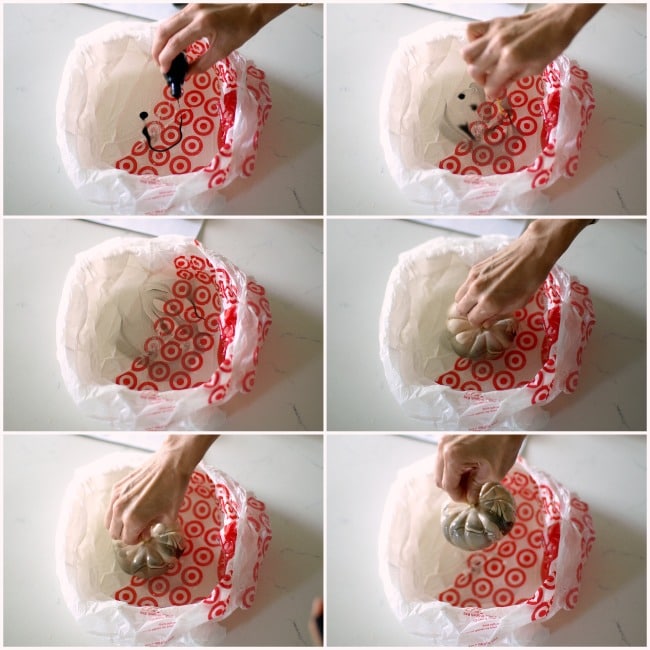
First, line your water container with a grocery bag (unless it’s disposable) and then fill with water. Make sure the container is twice as wide as the pumpkin and deep enough to dip the pumpkin entirely under the water.
First, its important to know that you have to act quickly because the nail polish can dry very fast. Next, carefully pour your nail polish in the water. You want to do it lightly so that the paint sits up on the water. I just used one color because I wanted to keep it simple and beautiful. Then take a toothpick and swirl the paint around. Then grab your pumpkin and carefully dip it in the water. Once it’s all the way under, take the toothpick and remove any excess paint from the surface of the water with your toothpick. Lift out of water and set aside to dry on the scrap paper.
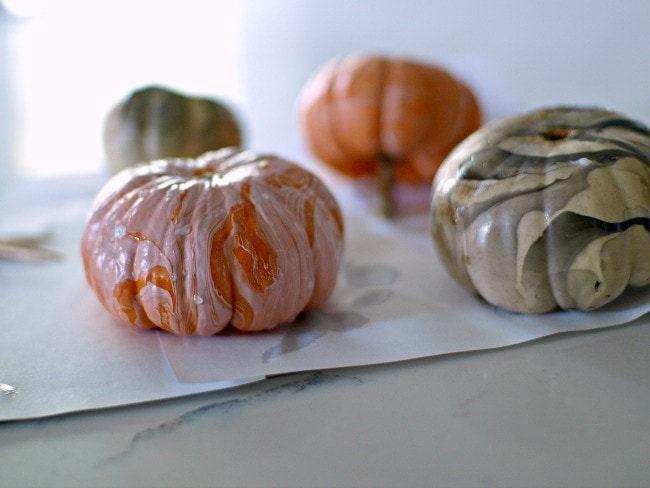
That’s it.
Happy marbling.
XO,
Miggy

Wow!! Very pretty! Thanks for the lesson!
Awesome marbleized mini pumpkin tutorial! This activity will definitely keep the kids busy and creative, glad I check out site and was able to find this cute tutorial.