

You may or may not have already dyed your Easter eggs but whatever you do, don’t throw away those beautiful and colorful egg shells! You can make some super easy and cute artwork with your little one’s and teach them about mosaic art in the process. It’s easy, hands-on fun for little ones 3 and up.
Supplies:
Egg Shells
Thick Paper
Elmer’s Glue
Sharpie
Watercolors (optional)
First you’re going to take your dyed eggs and turn these,

…into these.

Just keep a bowl nearby for kiddos to discard those used shells and try to keep some of those shells as big as possible, like half-the-shell size. Next, use some heavy cardstock or even construction paper–whatever you have on hand–and draw some pretty flower stems, like this.

Now let your kiddo make a giant glue blob at the top of the stem. This is one time they really can’t have too much glue. The circle needs to be big and thick with glue.

Now find a good half egg shell and place it directly over the glue.

Then let them smash it down as hard as they can breaking the egg shell into little pieces.

They may have to go back and press down some bigger pieces so it gets stuck in the glue.

Then do it again!

And again!

Smash, smash, smash!

Yay! Cute egg shell flowers.

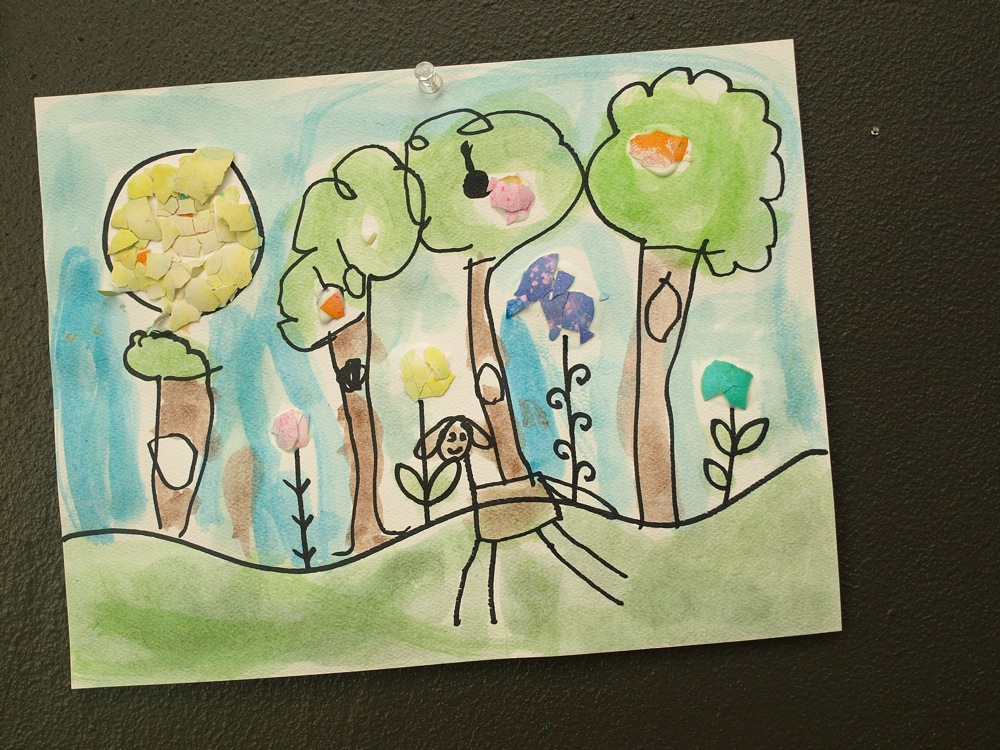
We also drew some other simple pictures and just started gluing smaller egg shell pieces to our art work. You could really be as detailed and mosaic-y as you want.


Shazam!

Next we added a little watercolor to the backgrounds….


And Voila!
Works of art.

I have to say I think this piece by PSP is my favorite.
Enjoy!

This is such a cute and fun idea!!
I'm a new follower of your sweet blog. I found you through Ruth and Davy when you had them as a Friday Spotlight. I've spent hours reading through them all – and am so touched by each and every one and their families.
So glad to meet you!
Dawn @ Mom-a-Logues
http://www.mom-a-logues.blogspot.com
Such a great idea… I always felt it was a shame to throw away such pretty shells. We'll be copying you this Easter!
HOW CUTE IS THIS??? I'm totally doing this with my boy! He will love the smashing part!
Cute blog! Congrats on the domain change 🙂
Very cute idea!
Eggshell mosaics can also be made in the same fashion on the tops of gift boxes and flat wooden picture frames, as well as boxes! Very cute and lots of fun for all ages. I found that adding a top coat of glue made the shells stay on better. Thanks for all the great ideas.
Shared this page on my Facebook and Google! Cute idea, very pretty… hope you have tons of success with you Blog and future Craft Ideas.