
Hey all, so I thought I’d post the Warhol portrait tutorial. Like I said, it’s pretty easy but you have to have a basic knowledge of photoshop to be able to do it. Oh, and you have to have photoshop…so those two things and you’re good to go. I tried to show each and every step so it’s easy to follow… but if something is confusing don’t hesitate to ask. Also, I’m just going to show you how I did our portraits…but keep in mind you don’t necessarily have to do everything I did to get the same look. For example I crop the photo so it just shows our faces, but if you want to do an entire photo go for it. So here we go!
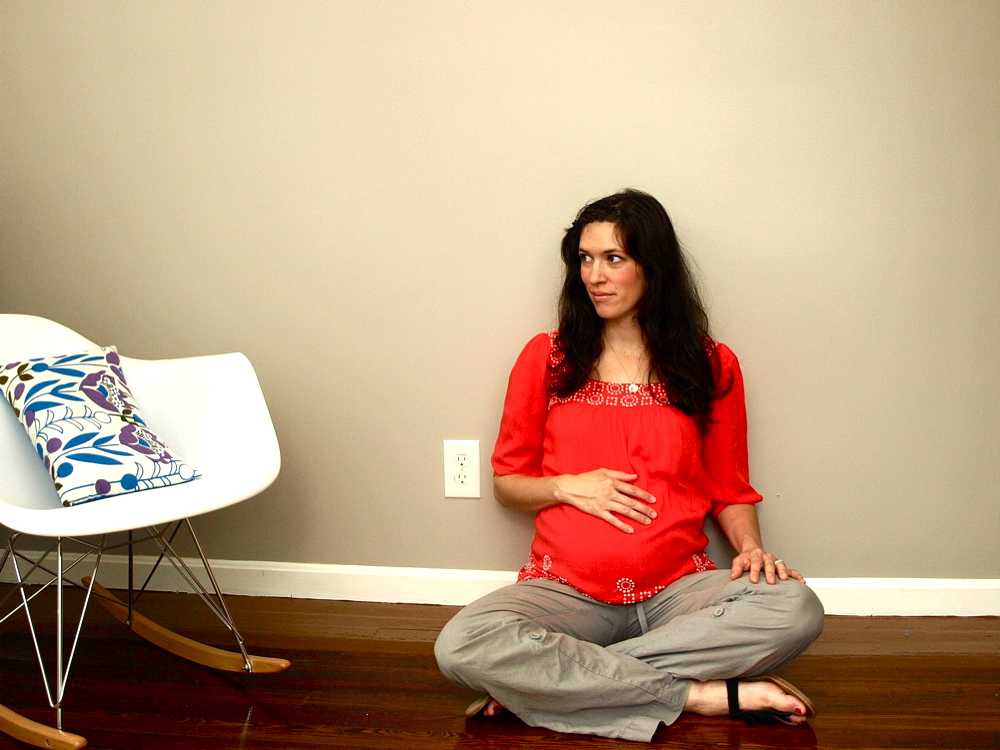
First, start with a picture of yourself (or whoever). It’s best if the picture has a lot of contrast (meaning dark and light areas, or shadows). This picture I chose below is OK as far as contrast goes, not the best but it worked just fine. I also think it’s best if you have a bigger, high resolution photo…. unfortunately again, this picture is a little on the small side, but it will work.
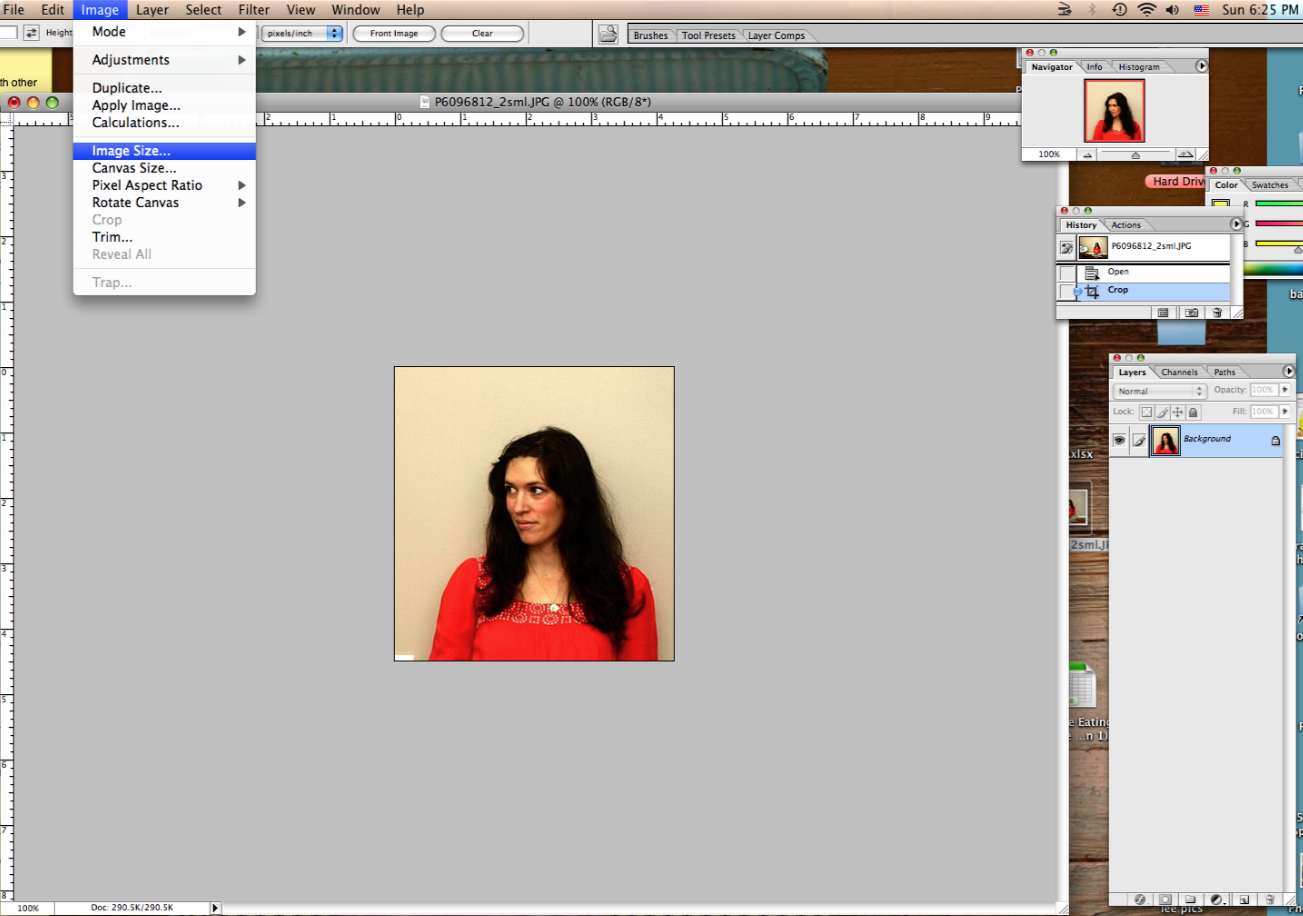
So make sure to open the picture in photoshop and then using the crop tool, crop the photo so it’s just the space you want to use. I usually make it a little bigger than the space I need so I can crop it again later if necessary.

Now that you have your basic photo this is when you should make sure you have the right size. If you want to print a full size picture make sure it’s at least 8″X10″. You do this by going to the image tab, and then choose size and change it to the size you want. (If you’re image is larger than 10 inches, I don’t think you need to worry about it…you can just change the printer settings to get the right size, but just make sure the proportions are right so that it doesn’t cut some of your image short when printing.)
Now choose the magnetic lasso tool and trace around your portrait. (Note–since I’m sitting against a blank wall in this photo this step is very easy. However, even if you’re not against a blank wall or the like it’s still very do–able.) Once you’ve outlined your entire face copy and paste it onto a new layer.

So if you look in your layers section you should have 2 pictures of yourself.

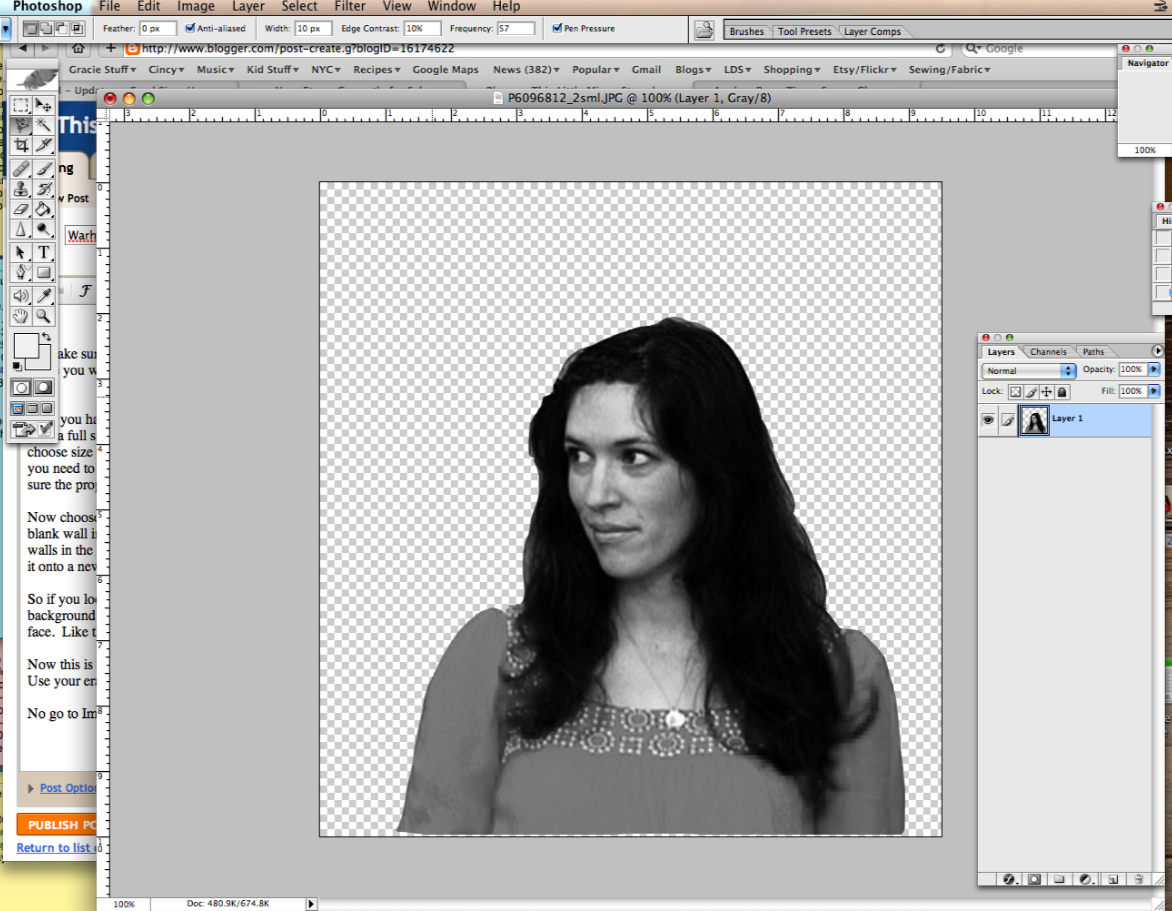
You can then go ahead and delete the background layer, leaving just the outline of your face. Like this:

Now this is where you might need to clean up some of the edges if they look really bumpy and messy. Use your eraser tool to do that. Then go to Image, Mode, then Grayscale to change your picture to black and white. It will look like this:
Now go to Image, then Adjustments, then Brightness/Contrast. When the box comes up, turn the contrast all the way to 100. Basically you need it to be black and white–no grey! Then play with the brightness until it gets the image you want just right. You don’t want it too dark or too light… this is just about the right combo for me. (This is also the point where you might realize your picture doesn’t have the right amount of contrast, so you may need to choose another photo at this point and start over. Try not to get too frustrated if that’s the case, it’s happened to me plenty and it may take a few photos before you find the right one.)

Now comes a little bit of a tricky part. Once again, create a new layer. Then select the magic wand tool. Now you have to select ALL the black parts of your image that you want included in your final picture. That means that any black parts that aren’t touching other black parts must be selected separately. So use the shift button to select multiple parts of the image… like the shadow under my nose, or even the tiny shadows outlining my shirt on the far right side. Once you have all the black parts of your image selected, you’ll want to copy and paste that into the new layer. Now it’s important to keep both of these layers for the next step which is applying the color.
As you can see if I just show layer 1, you can still see the white outline of my shirt which will help as a guide for applying color.

And if I just look at layer 2, there is only a few black shadows on an other wise “clear” image. So basically you’re going to paint your color onto layer 1 and then put layer 2 on top of that layer where only the black part will show up on top of any color underneath. (If you’re familiar with photoshop this isn’t that hard to understand…if not just wait until we start coloring).

Now you need to switch back from black and white to color, so you can start applying the color to your picture. So go back to Image, Mode and choose one of the color options (I think I usually just stick to RGB or CYMK). And when it asks you if you want to merge the layers be sure to hit DON’T MERGE. That’s important.
Now is the fun part, make sure you’re painting on layer 1 and make sure layer 2 is on top of layer 1. To clarify, you’re painting on top of layer 1, but under layer 2. So choose a color, make sure you’ve got the paint tool (adjust the size of the brush you want to use) and start painting away! I usually start with the background. As you can see, as you paint on layer 1, with the 2nd layer on top you can paint over the hair, but it won’t go away, until you hide layer 1.

Now just continue to choose colors and paint away! Experiment and have fun. I actually wanted to do with some different colors for my portrait, so I choose a bluish skin tone this time around. Then I cropped it one more time and voila! I think I’m done. (If you crop it again, you’ll have to adjust the size again fyi, which might affect the resolution so just be careful).

As you can see, if I remove layer 2 it just looks like a crazy blob…

Also–just a personal preference here–I like to use multiple shades of the same color on top of each other to give it some depth. So you can see I used a couple different light purple’s for the shirt, and a couple shades of blue for the face. I think it gives it a painterly quality. I also like to be a little sloppy and leave white spaces. I just think it looks better if you’re not too careful.
Yay… So that’s it! I hope that was easy to understand. If you have any questions please feel free to ask and I’ll try and answer them. I’m not a photoshop wiz or anything, but I’ll try to help. Also if there are any designers out there (those more familiar with photoshop than myself) who want to add any helpful tips I’m all ears!
If anyone does a portrait I’d love to see it, so either email it to me at thislittlemiggy at gmail dot com or post a link to your blog so I can check it out. Thanks!

I don't have any additional tips. I just think this is a really cool project that I may copy one day. And, I just love this pic of you!